1 - Arcade Machine

After a step back in time when visiting the Pinball Hall of Fame in Las Vegas, we decided to make an Arcade machine for Xmas 2015.
- The basic outline started off as a piece of paper hung on the wall and then onto cutouts made from MDF.
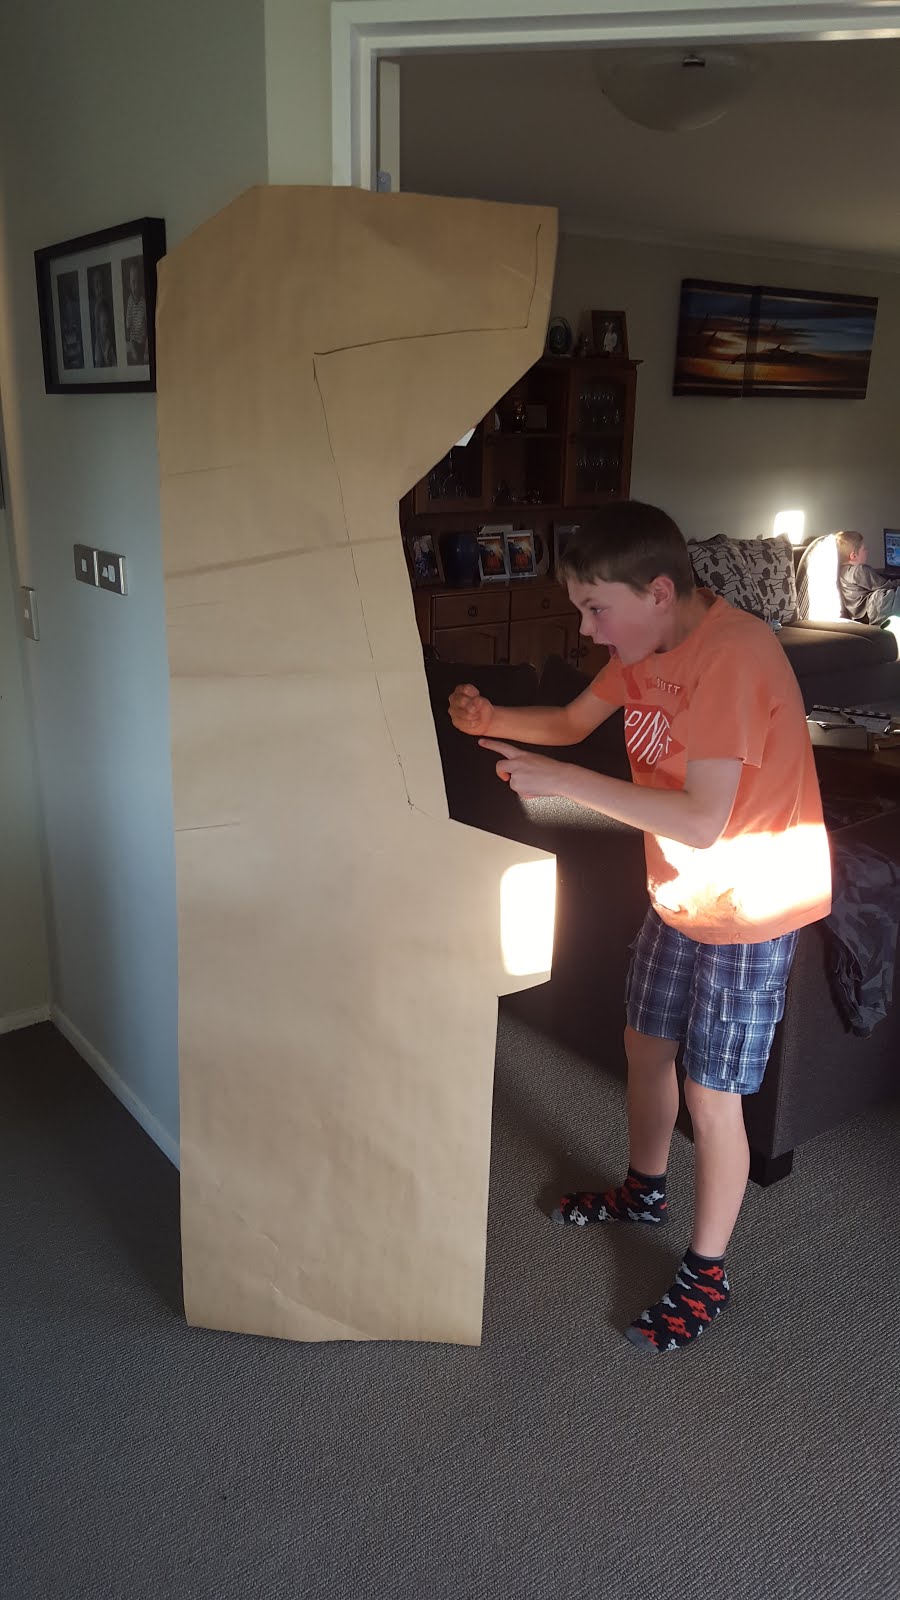


-
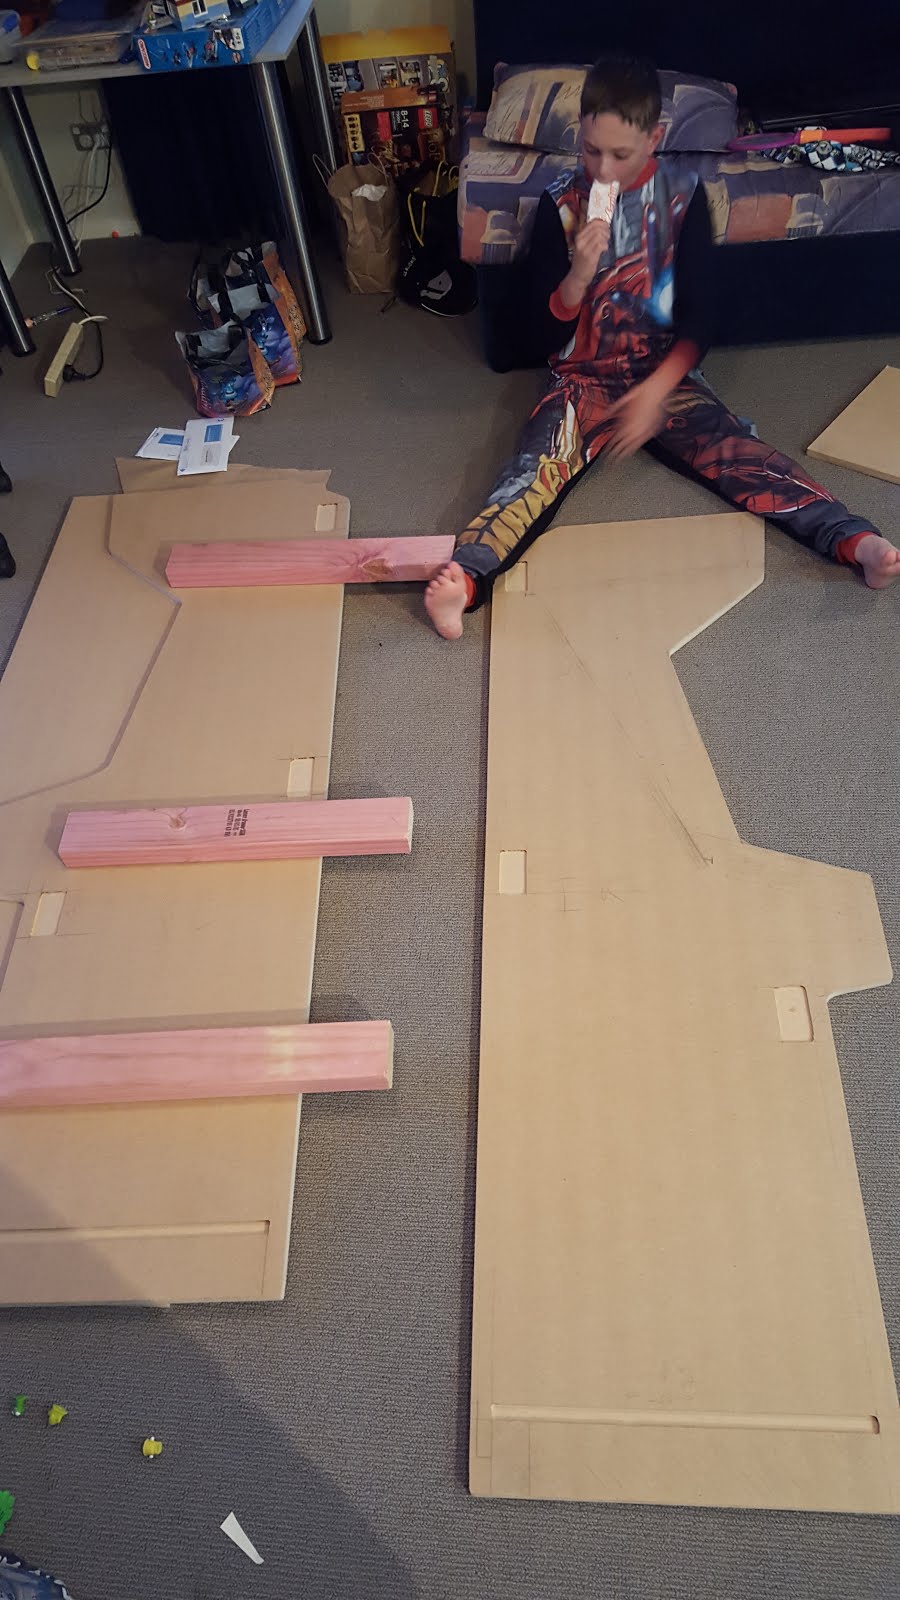
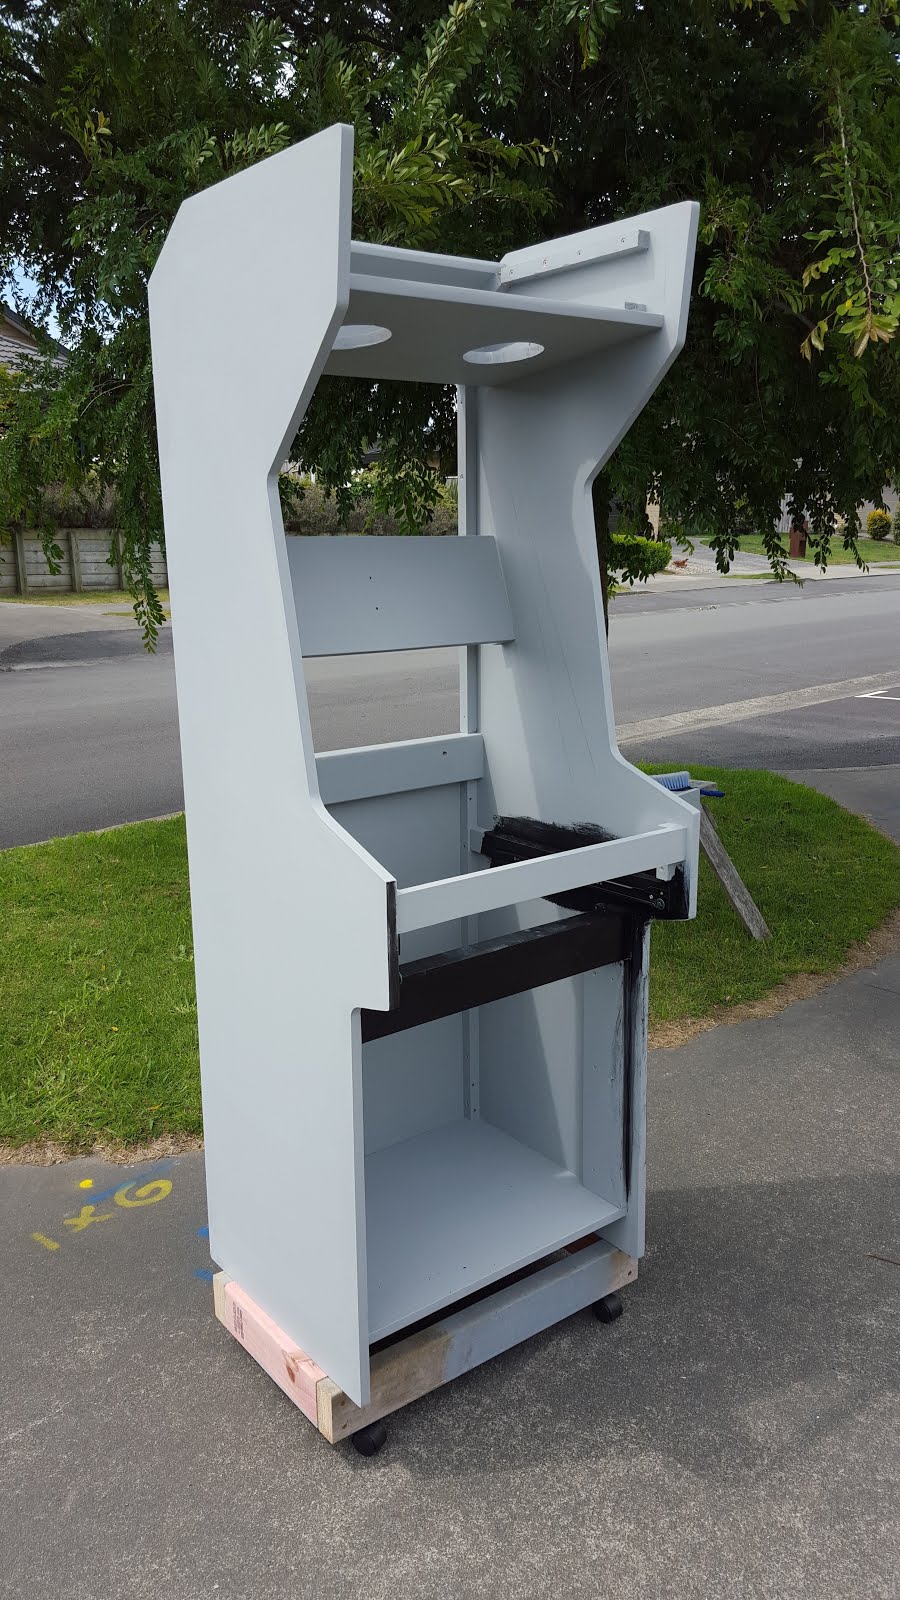
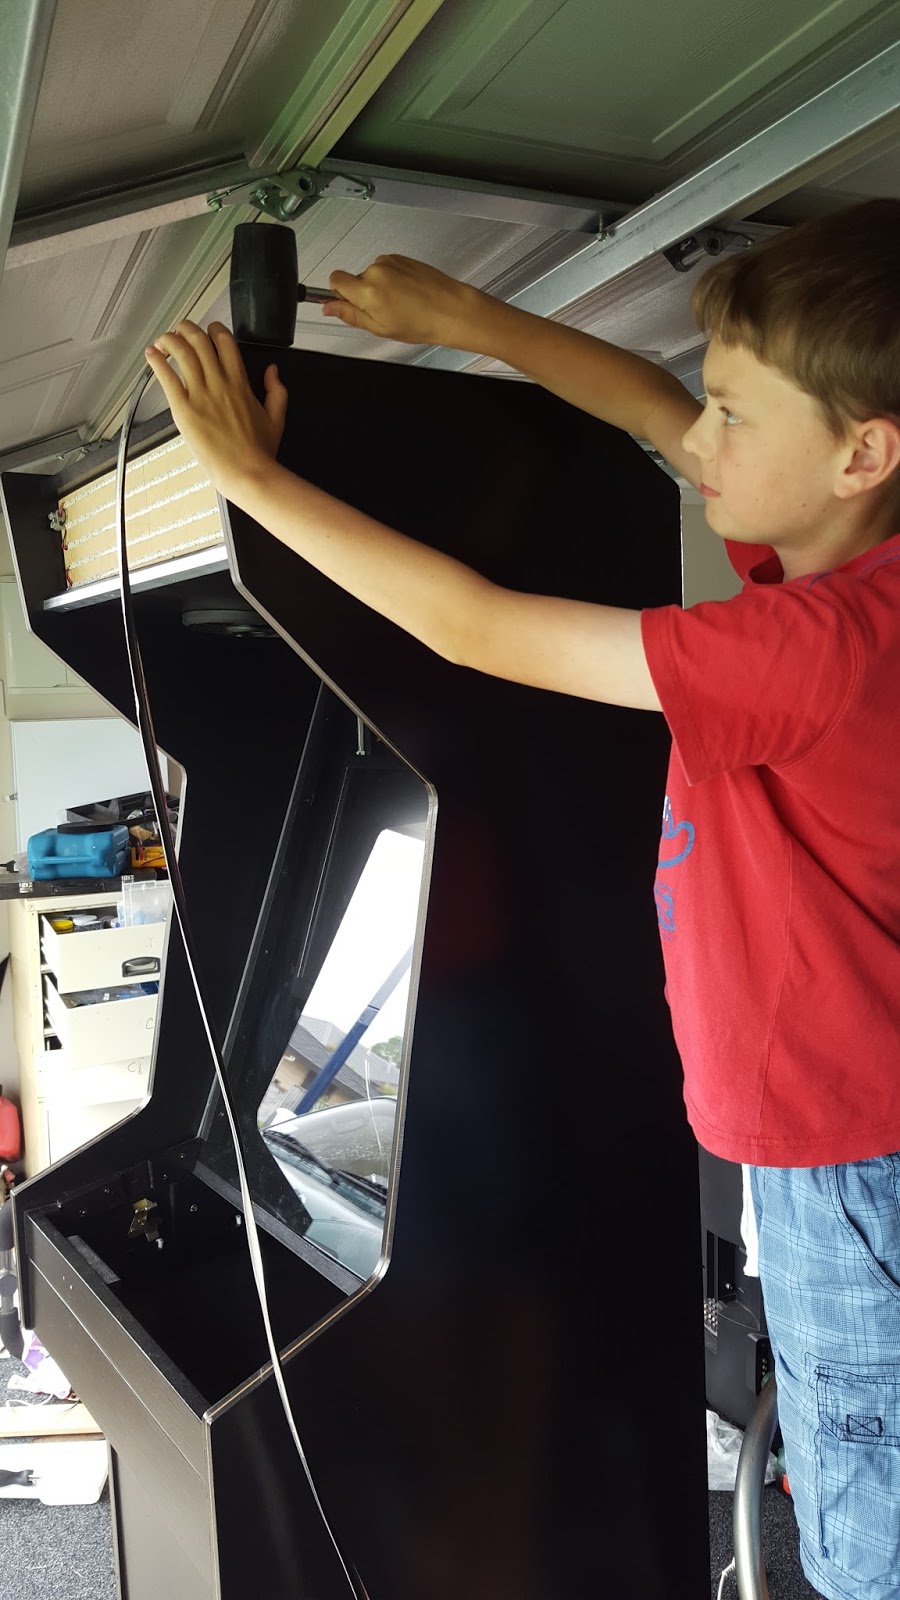
From there the sides and base were glued together and things started to take shape (and get heavier).
-
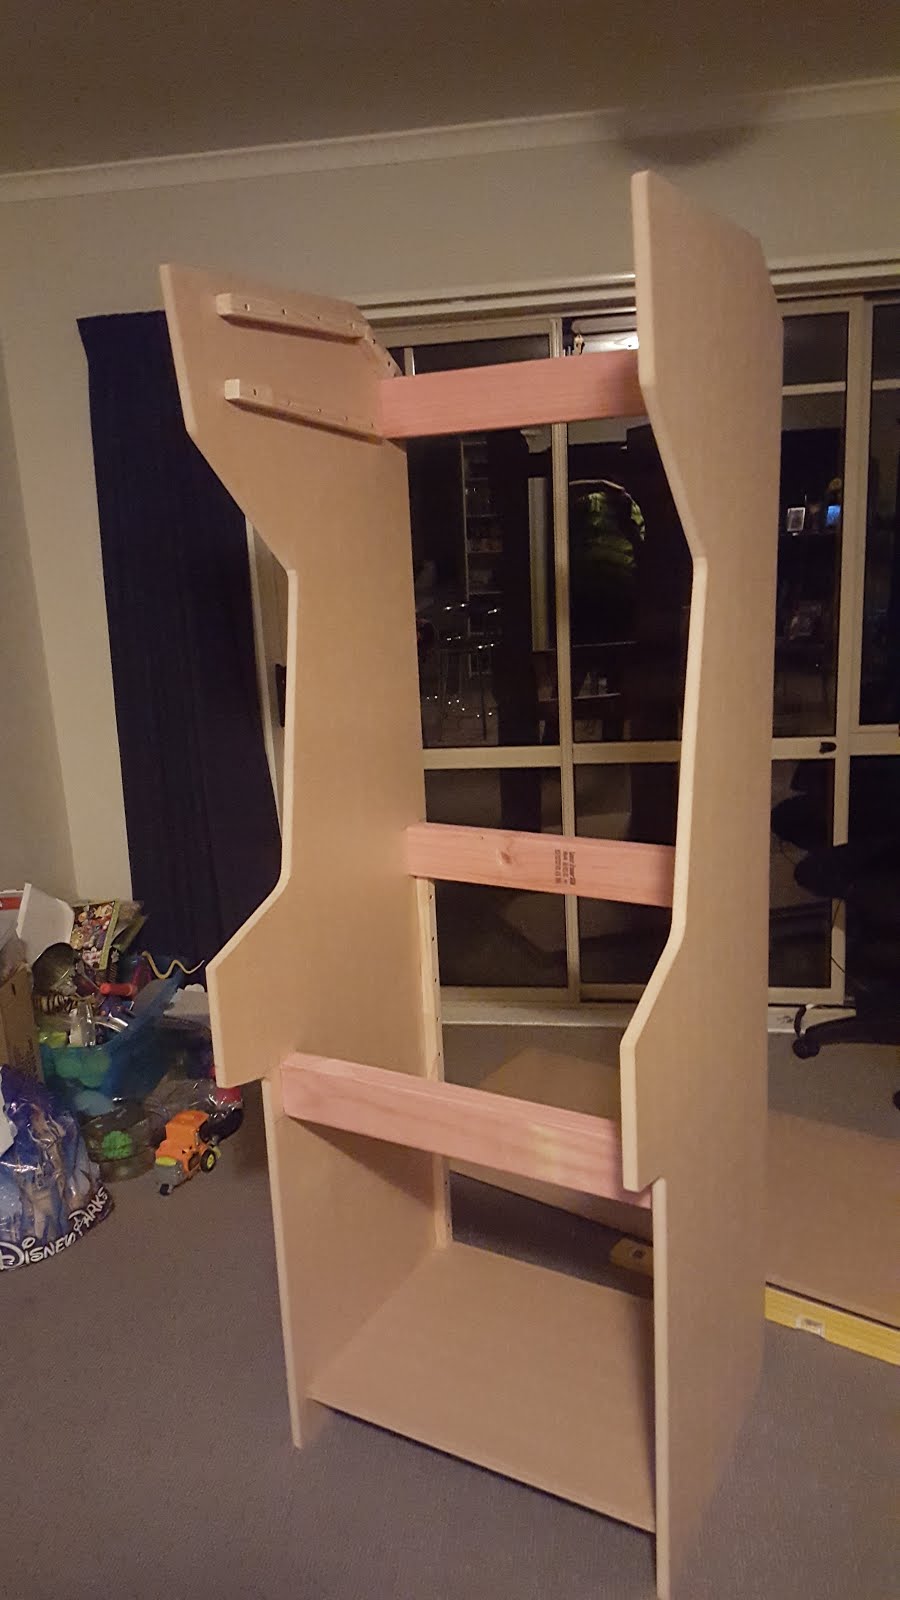
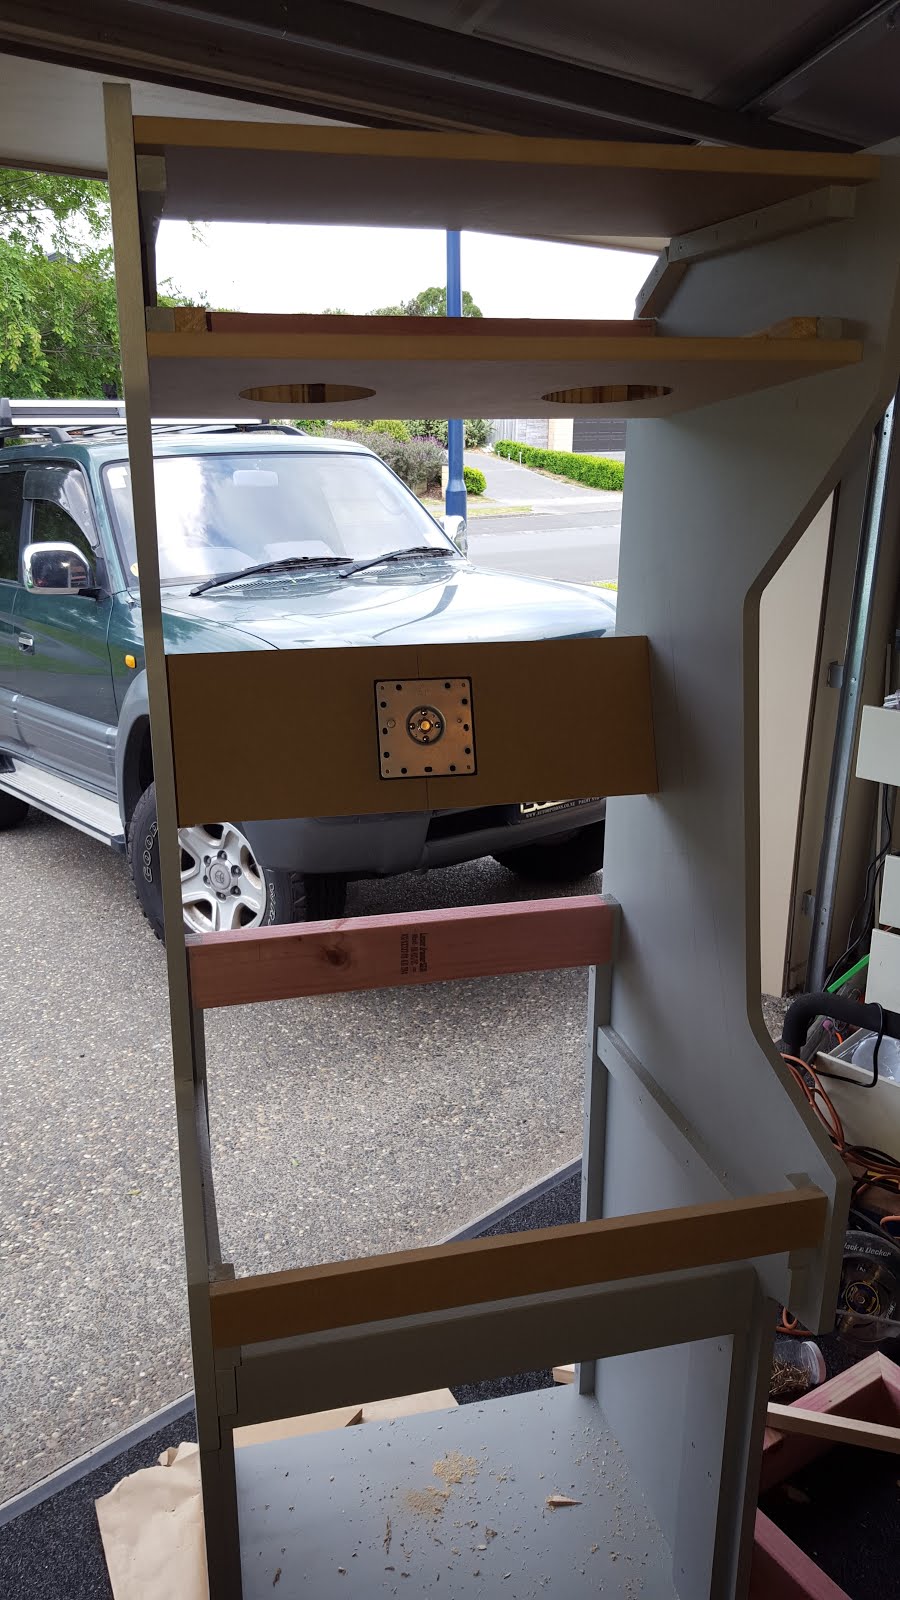
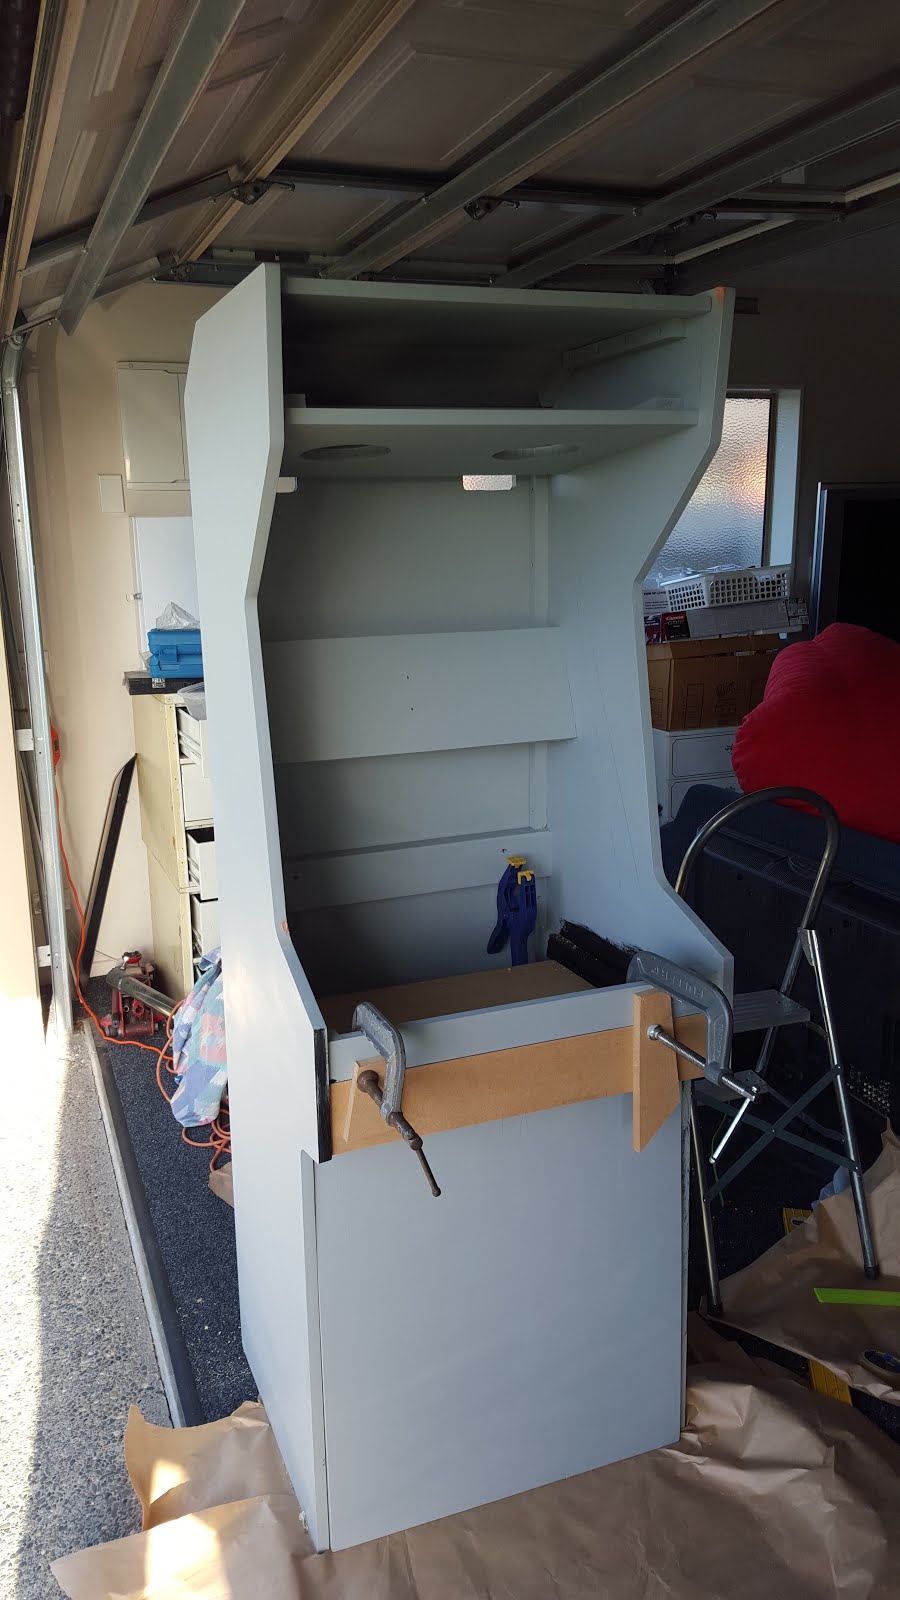
Other bits of wood were glued and screwed to the inside to secure other panels required in several steps time e.g. top, speaker panel, back panel.
-
Always thinking about what’s required in several steps time! Every time I tried to go to sleep – thinking, thinking, thinking.
-
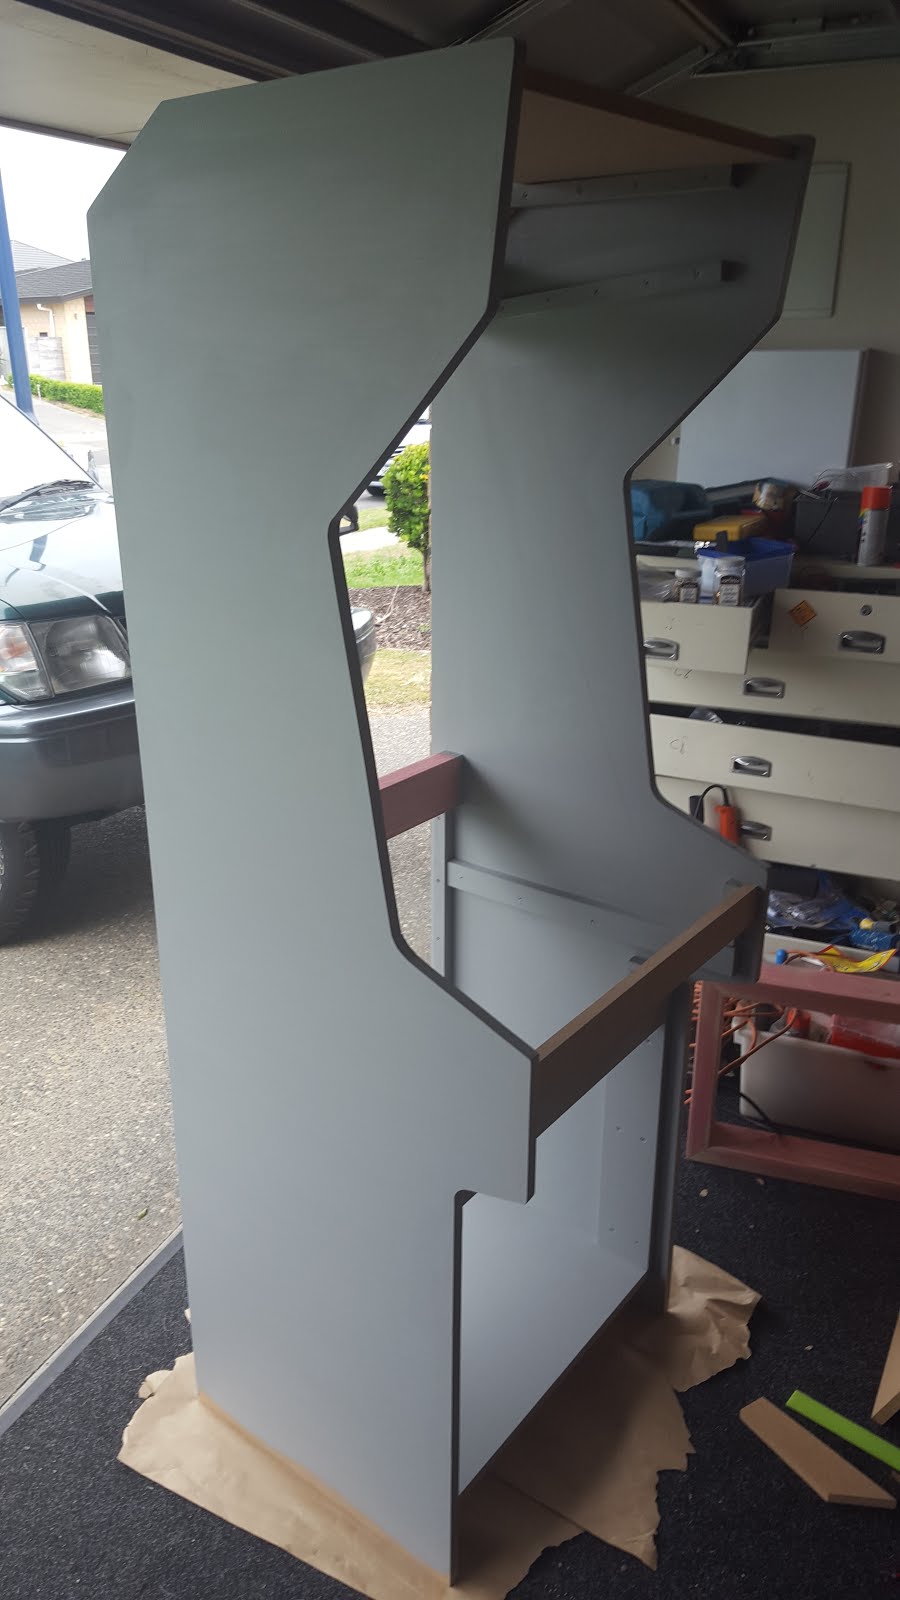
A bit of priming/sealing as we go. The bracket on the right is from the 19″ LCD monitor that will fit in later
-
The dolly was created just to move it around. It’s not a permanent part of the machine.


-
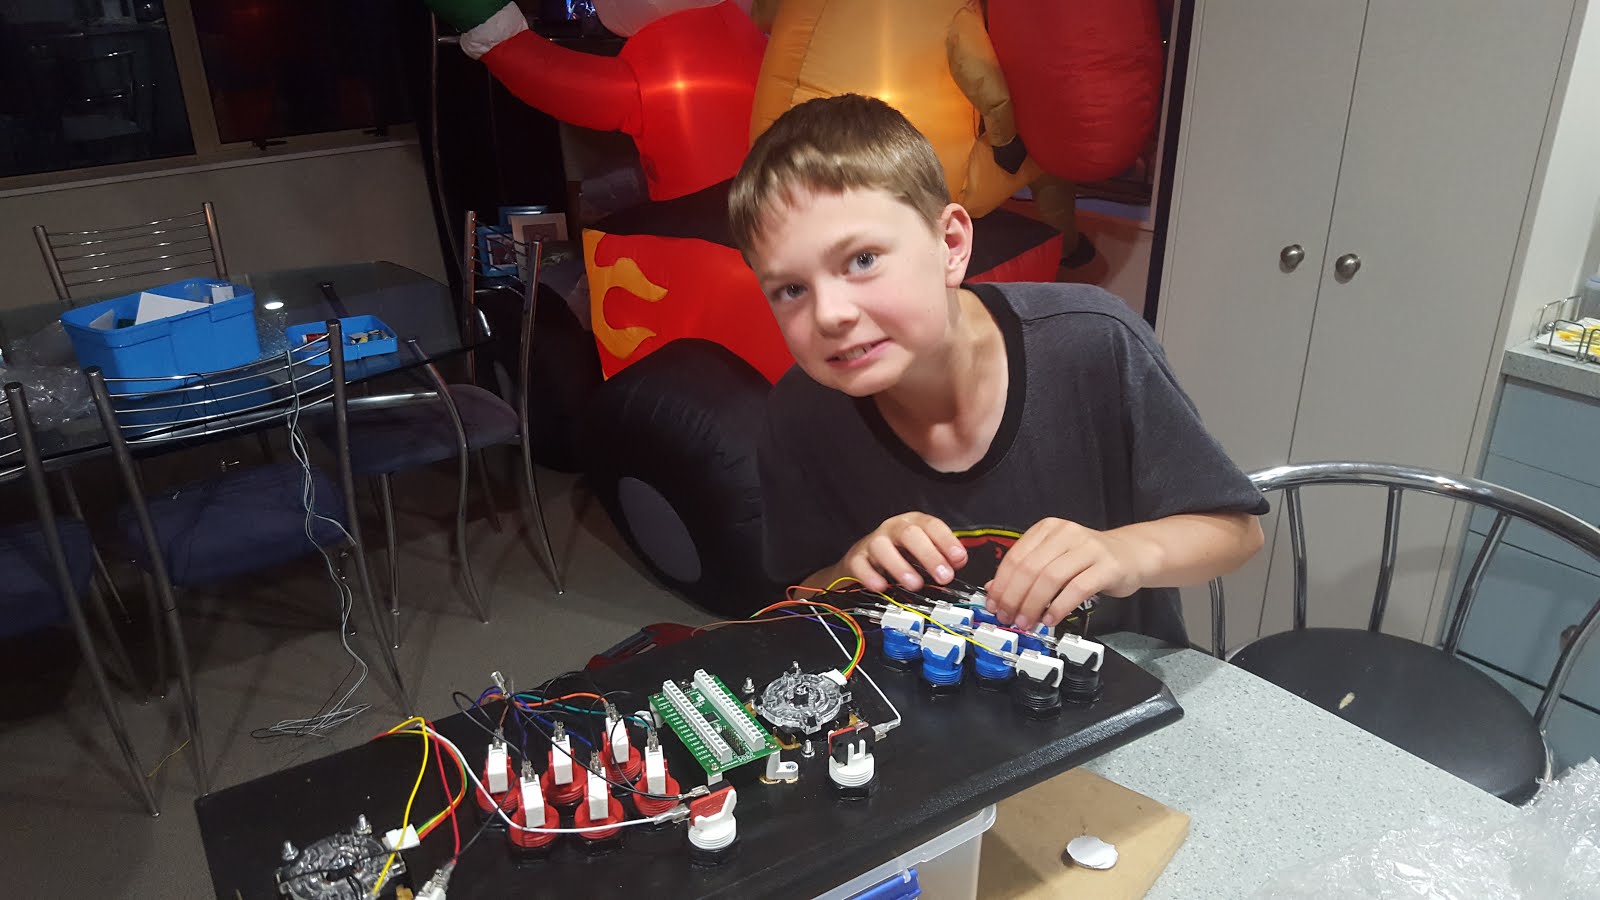
Mocking up the controls on plastic.
-
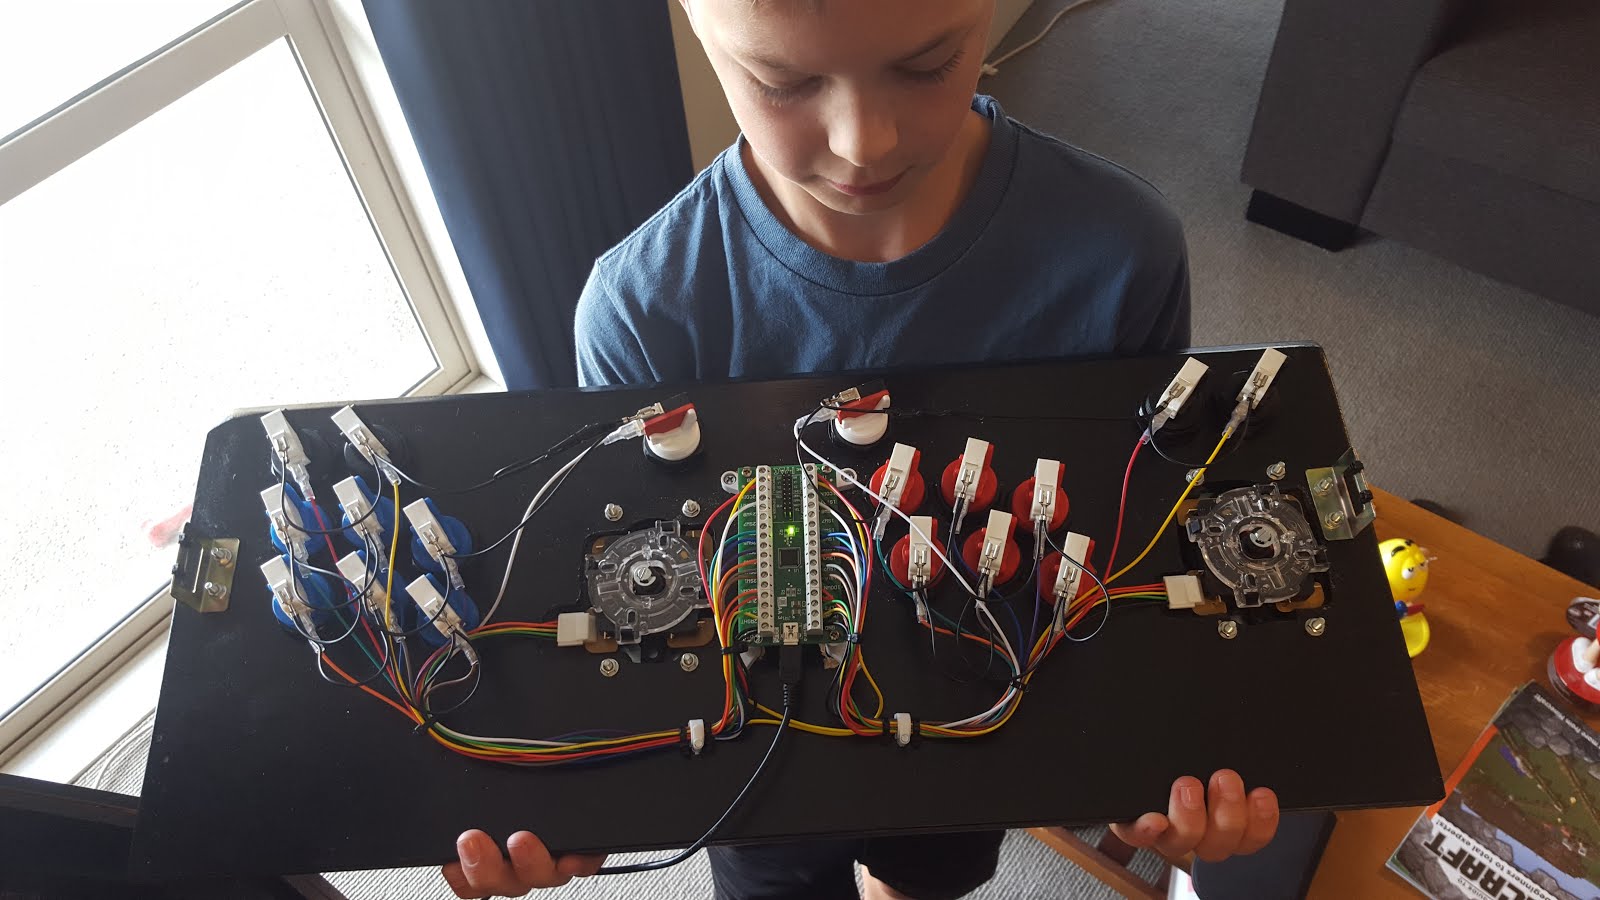
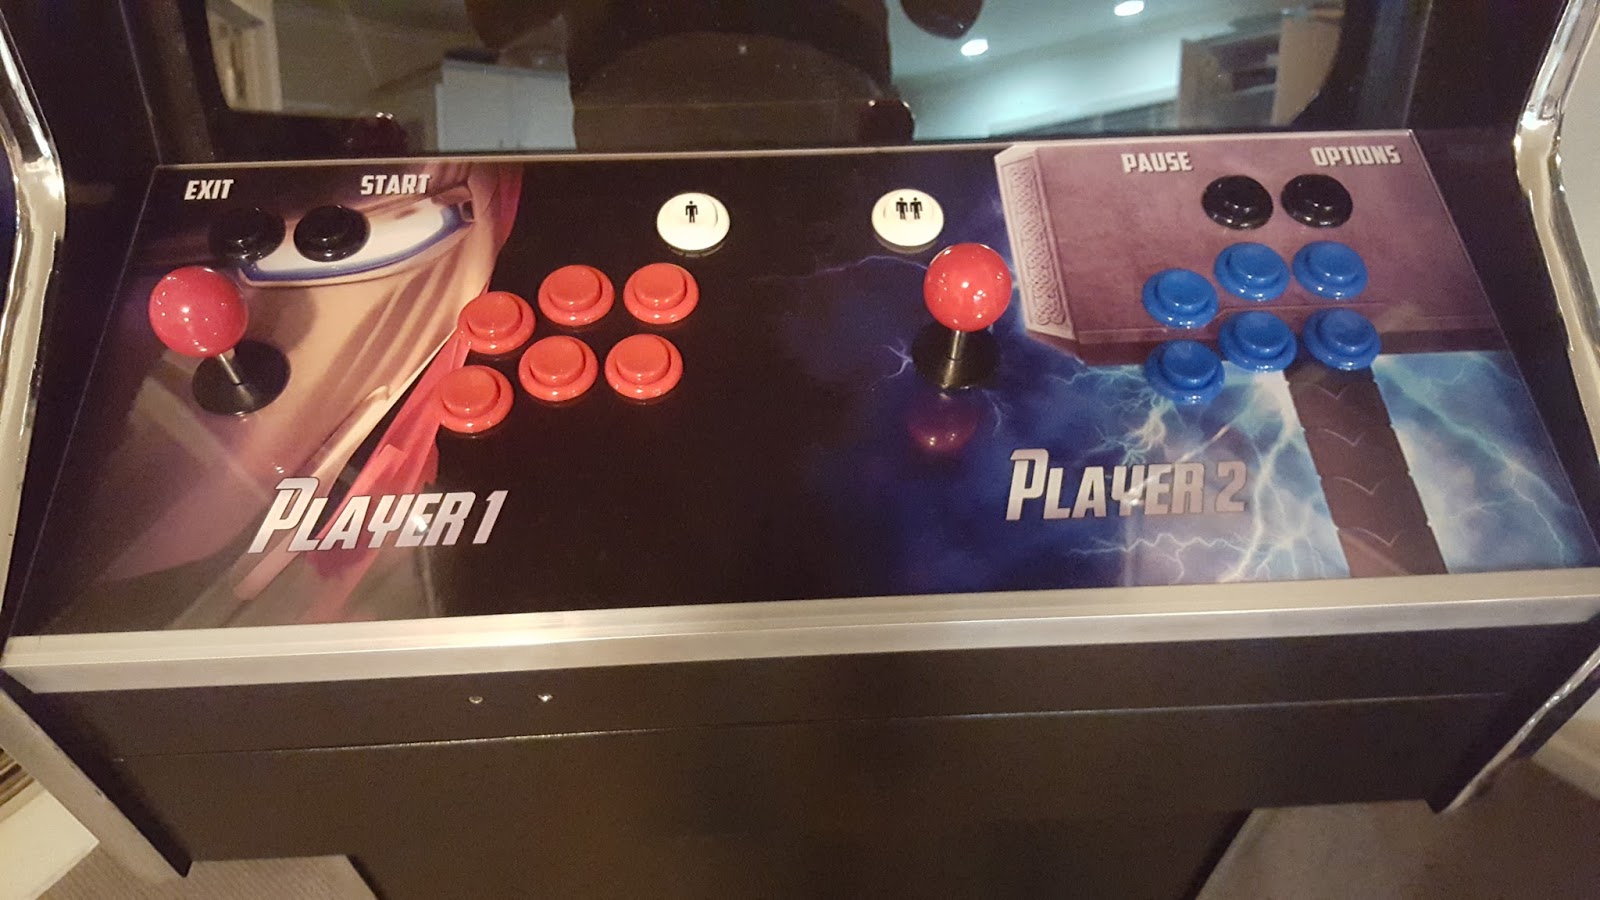
Before creating the control panel and wiring up the I-PAC.
-
Notice the brackets on the outside edges of the control panel. It will later be held in place by locking latches.
-
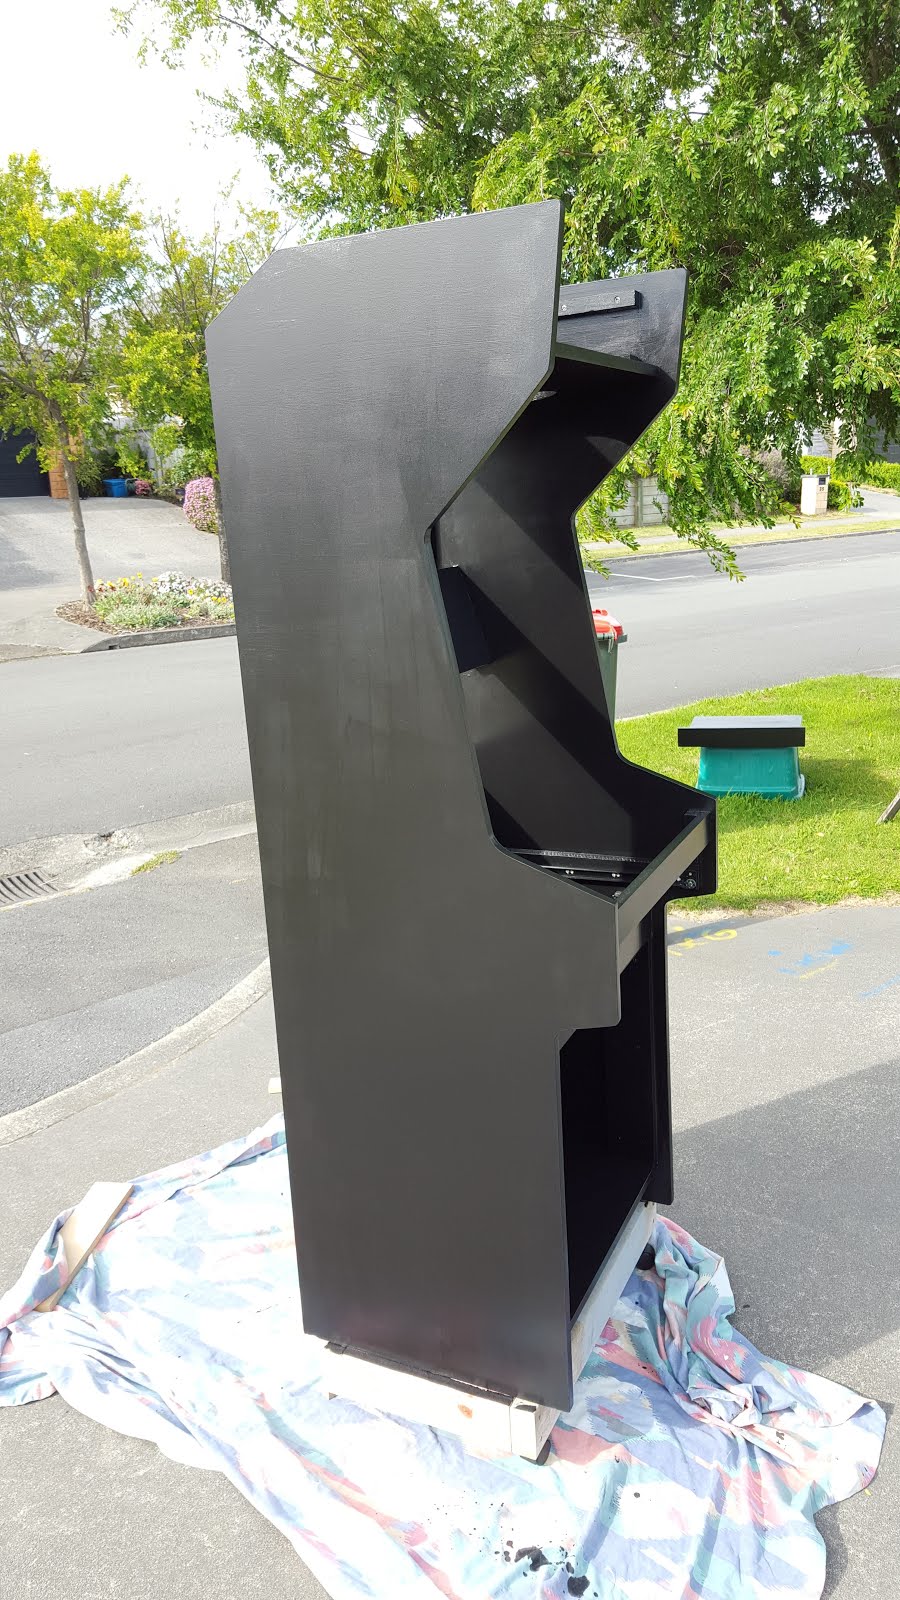
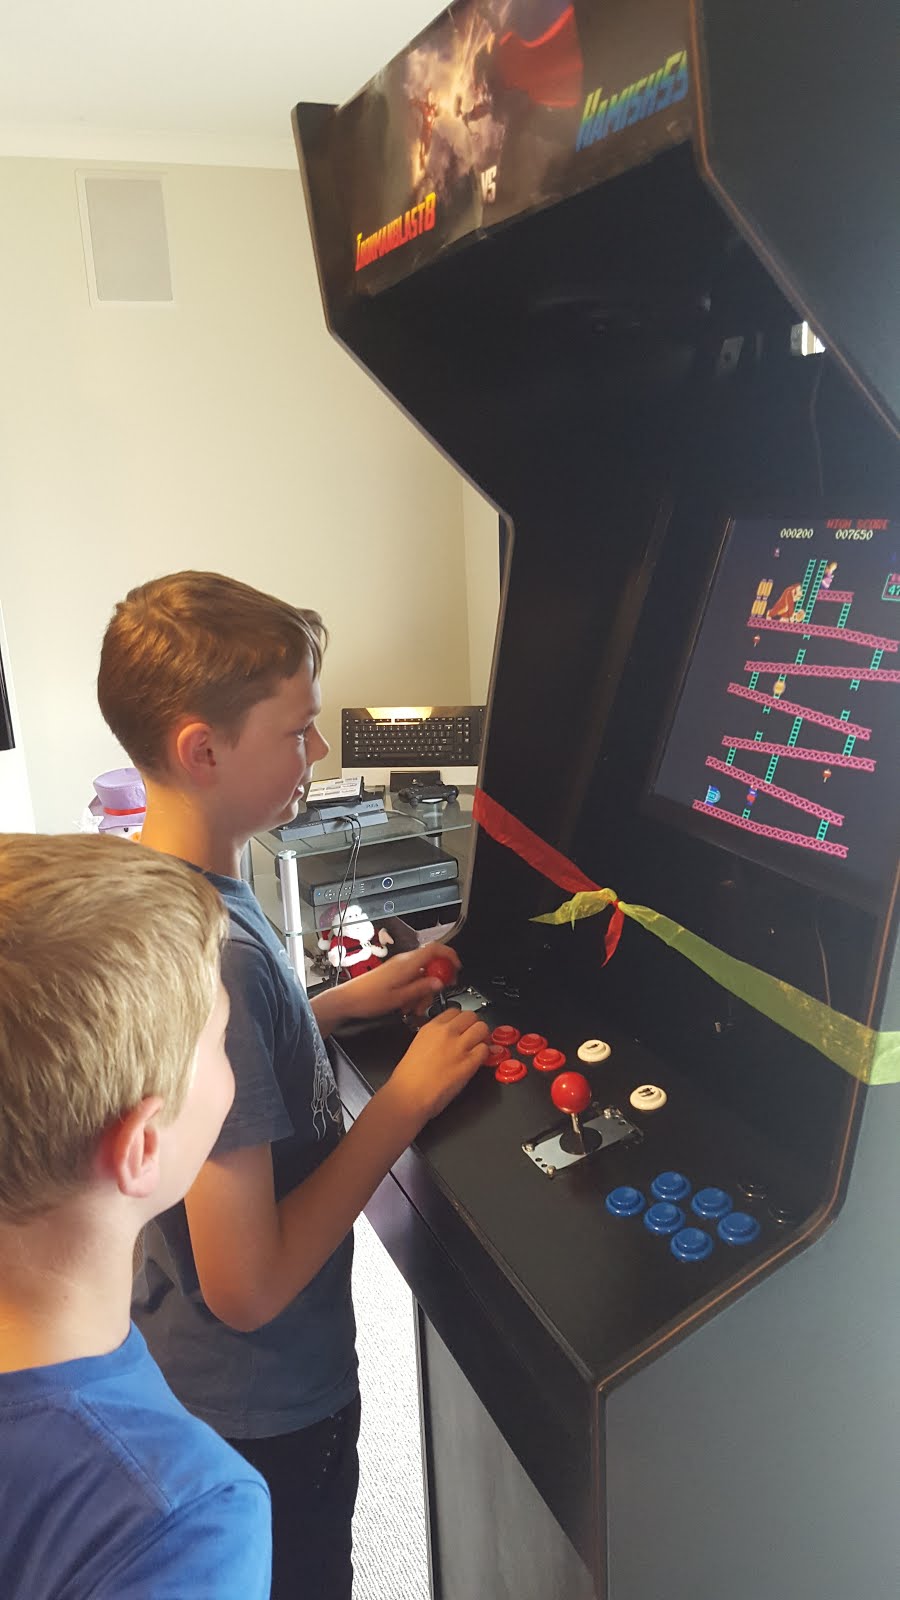
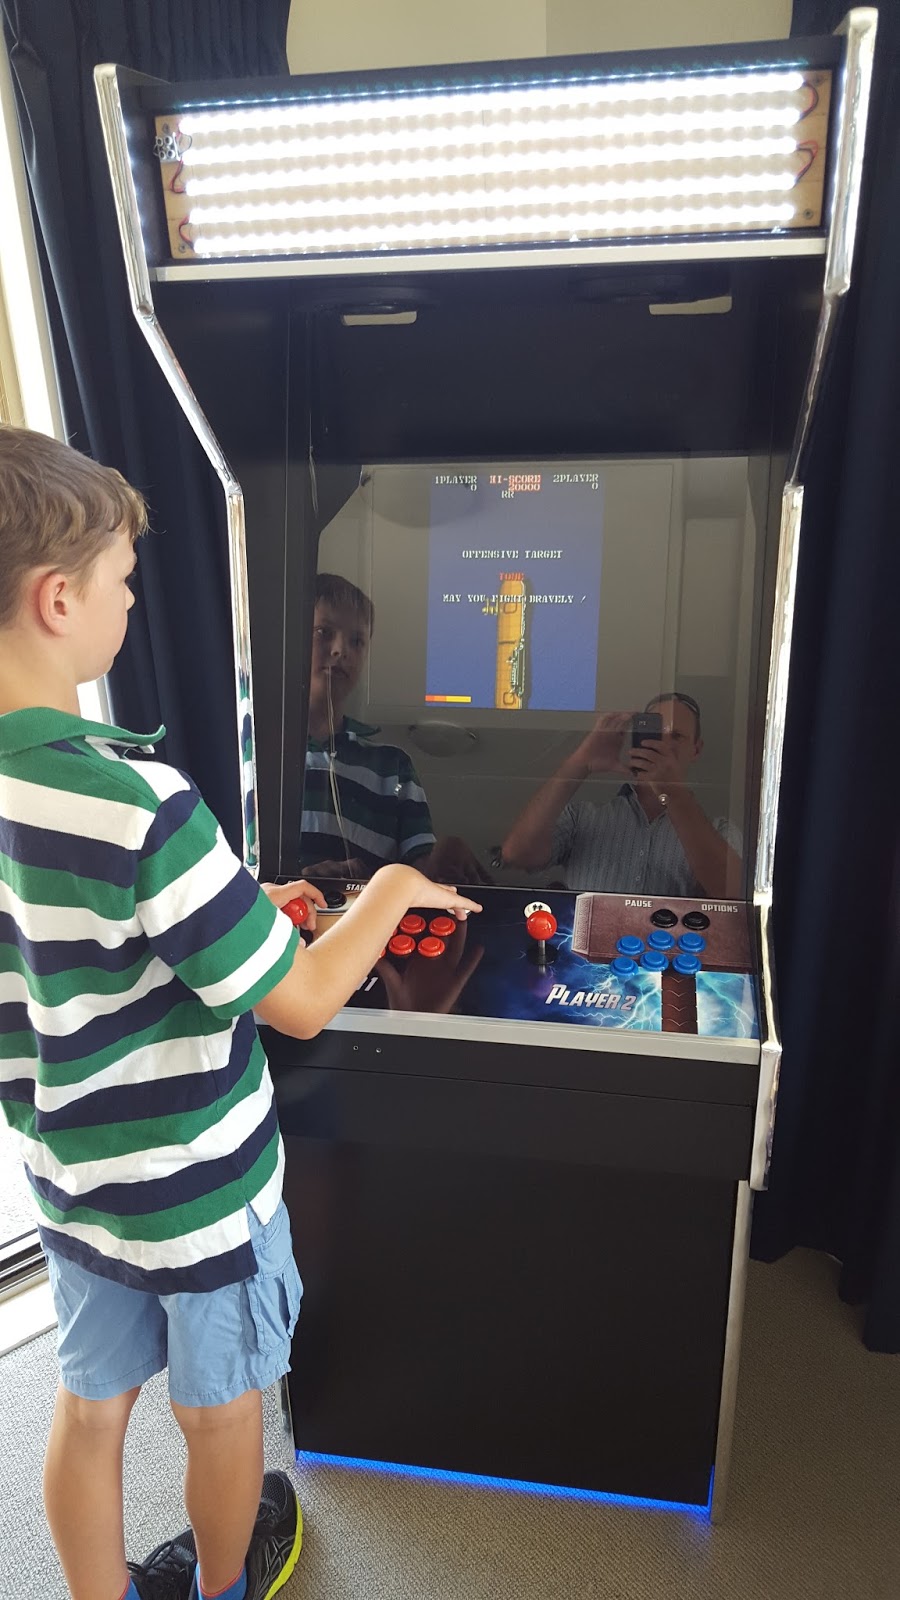
Not yet finished, but operational and ready enough for delivery as a Xmas present.
-
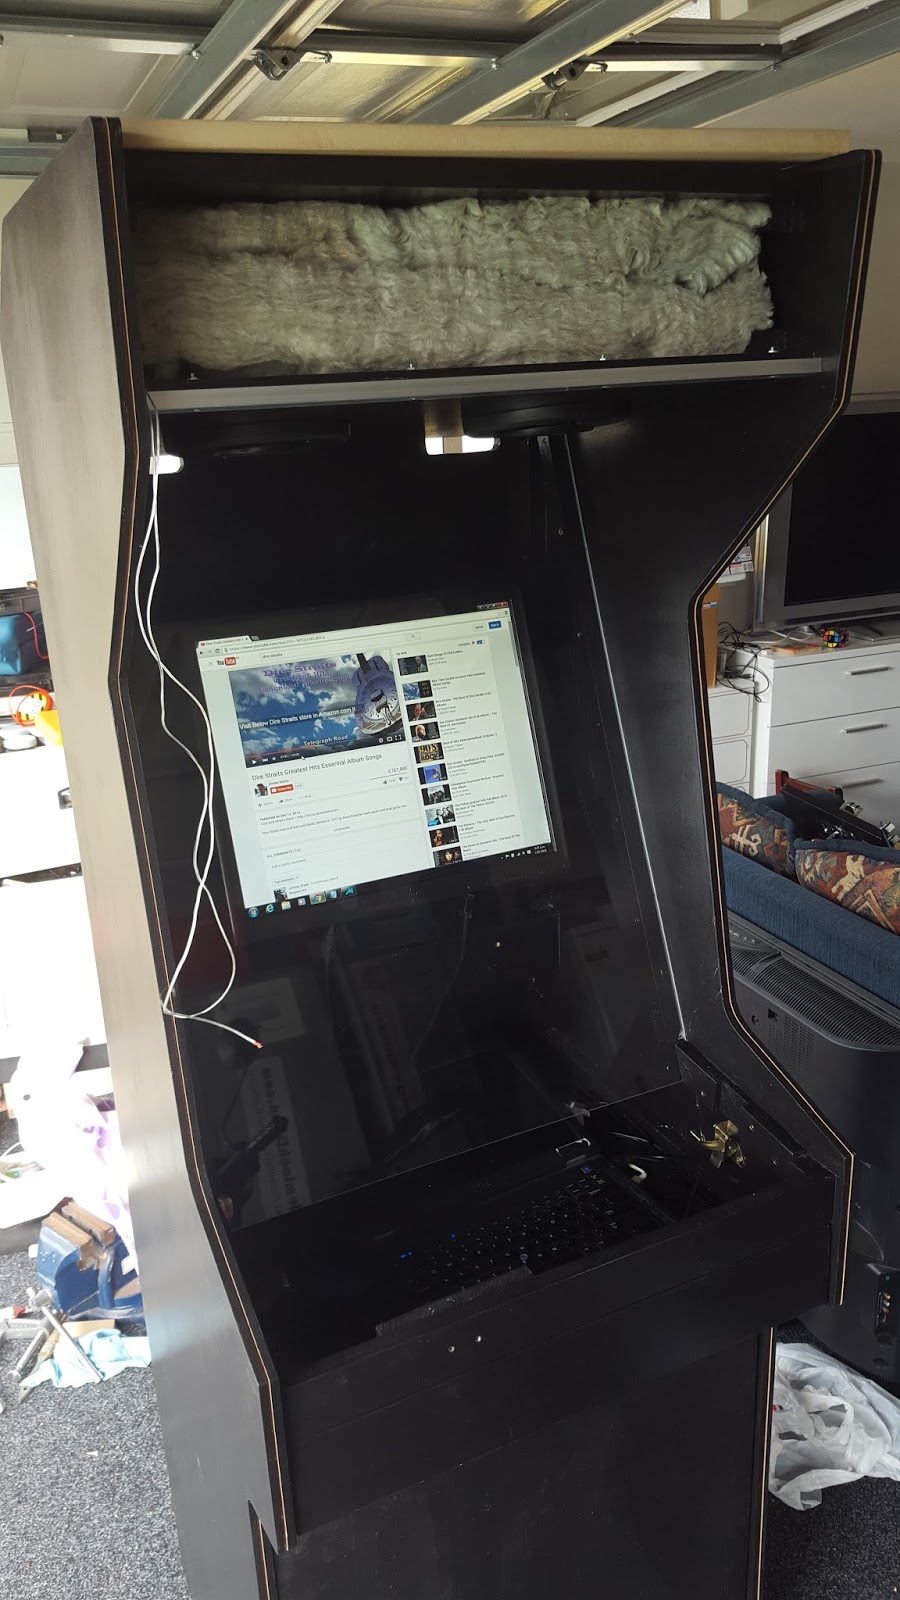
Sound insulation used to add more base to the speakers. Little overkill, but in went a pair of 130W Sony Car speakers, so might as well make it sound good.
-
When it gets to loud, there’s a couple of 3.5mm connections at the front for headphones. Though as we found out after the build, it’s not the noise of the machine that’s loud, but the noise of the kids playing it!
-
Also fitted now is perspex screen in front of the LCD monitor.
-
The kick panel at the front is hinged for opening.
-
The laptop sits on a draw with runners that pulls out
-
Silver T-molding going on & notice the five rows of LED strip that will form the back lighting for the marquee.
-
Buttons removed after Xmas to put on the artwork and perspex. Perspex size was cut to order, but holes we did ourselves with a plastic spade bit on slow and where it would reach, a drill press
Bulk of Parts are from www.austinamusements.com.au
Joysticks: Sanwa JLF-TP-8YT Buttons: Gennuine Happ
And Done. Well mostly.
These things are never quite finished. Still to do:
- Create and add the marquee.
- Replace the temporary amplifier
- Add the Coin Mechanism
- Perhaps switch from Laptop to Raspberry Pi 3 for
- And apparently, take it out of the living room and back the garage. If anyone wants some close ups or some more information, let me know.